
Last week, Lara and I got cracking on our ever-changing seasonal dining room display. Good-bye New Year's tree, hello Valentine's Day garland! As modeled by the lovely girl herself:
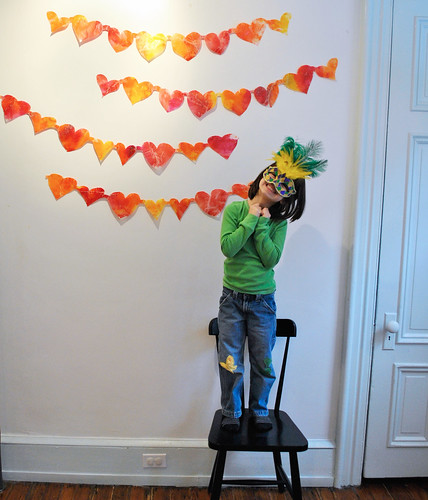
Also modeled by the lovely girl is a Mardi Gras mask picked out by Mr. Forty-two Roads on a recent New Orleans business trip, which she now refuses to take off and has worn to school two days in a row.
And the third thing the lovely girl is modeling is a pair of ripped up jeans with patches courtesy of yours truly. A butterfly on one knee and two hearts on the other earned me the following comment: "Oh, mom, I love this butterfly! You made a pink swirl on it just for me! But maybe you could put more patches, maybe more butterflies and flowers here too? Like Lucy has on her pants at school? And look, you made hearts - I love hearts!" So, as you can see, Lara is already a master of the compliment sandwich - a crucial management technique. Look for her next in the big chair at the board of directors meeting.
Another sign of the future? She has dropped "Mommy" and "Daddy" and has adopted "Mom" and "Dad." Why? "Because that's what big girls do, mom." Her scandalized father said, "If you call me Dad, I'm going to call you Lar." Her response? "Ok, dad." Wow!
Anyhoodle. Hey, would you like to know how we made these garlands? It was a fun, kid-friendly-ish project. And certainly a good way to use up broken crayons.
1. Gather up said crayons and sort them by color:

2. Lay out a long (twice the length of the garland you're hoping to have) piece of wax paper. Fold it in half, unfold it, and start working from the crease out.
3. Get out a blade or sharp implement of some kind and start crumbling up the crayons, with some kind of color scheme in mind (trust me, it comes out better-looking than just a random smattering of colors - that just ends up doing the swamp-brown-mud thing). Try as hard as you can to get the crumbles onto the wax paper and not all over the floor.

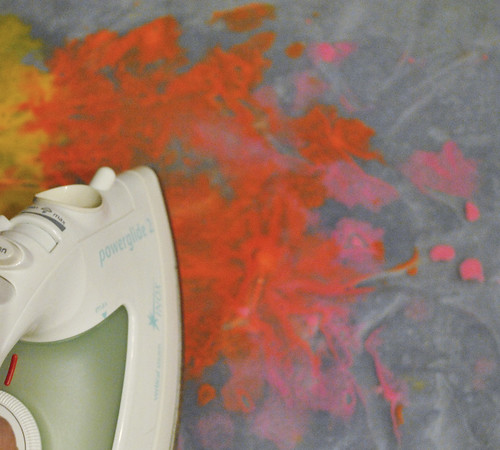
4. Turn your iron on the lowest setting and make sure the steam feature is off.
5. Fold the wax paper over the crayon crumbles, thus sandwiching them between the two wax paper layers.
6. Start slowly ironing the wax paper. You'll see the crayon crumbles inside start melting and puddling. You can chase the puddles around with your iron until you get pleasing results.
7. After you finish the whole thing, cut out your garland in whatever shape you want!
2 comments:
You are very, very brave to deal with all those crayon shavings. Good on you! Puts our handpainted valentines to shame. Welcome back, too, BTW!
This is adorable. :)
Post a Comment