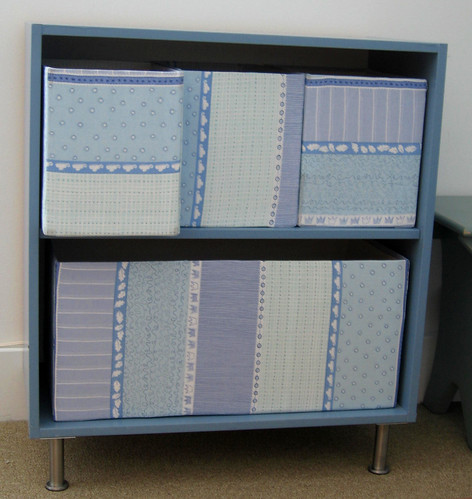
I upcycled an old Ikea bookshelf (Misha had this in his childhood bedroom!) into a little changing table. It was too low to the ground, so I added some Capita legs from Ikea to raise it about 5 inches. Then I went to a store to buy some boxes or baskets for the shelves and saw that they apparently cost thirty bucks a pop. I know, seriously. So made some custom-sized boxes, three on top, and one large one for the bottom. Here's how:
Step 1: Measure and cut cardboard for your box. Use a T-square or similar tool for right-angled corners. If you're going to pick a step in which to be the most anal, it's this one - if you're off even by a quarter of a inch with your measurements, your box will not be rectangular.
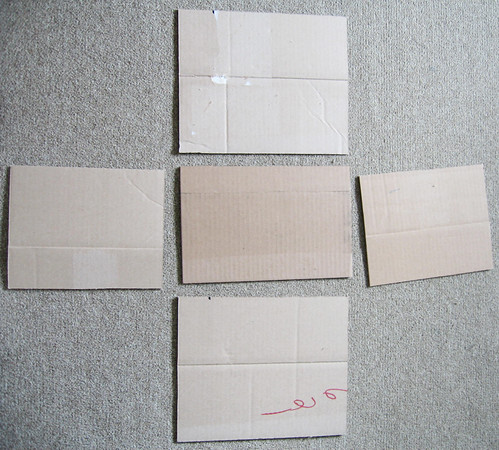
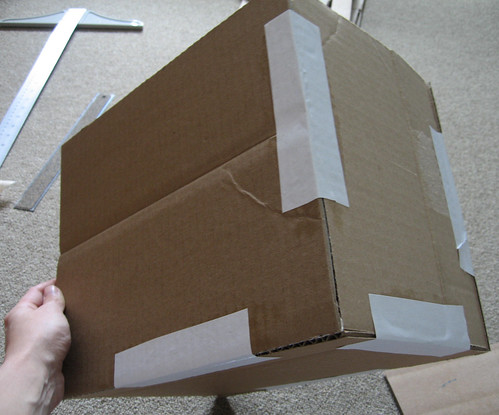
Step 2: Cut 8 strips of white paper per box you are making, each about 7"x3". Using a regular white glue (or even a glue stick), use these strips to attach the cardboard sides and bottom to each other. Be careful when lining up the edges to create crisp corners.
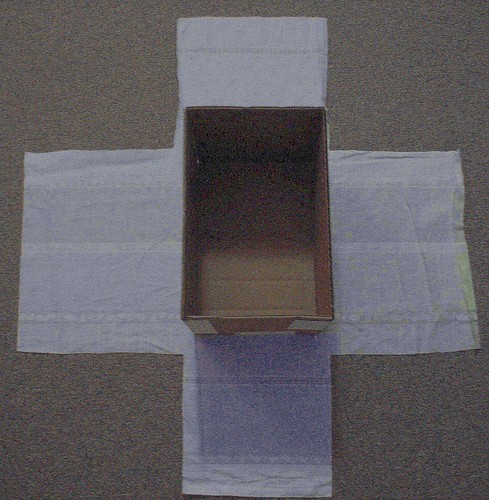
Step 3: Put your box on top of the fabric you will be using to cover its outside. Cut a plus-sign shaped piece out, large enough to cover your box measurements, plus about a 2 inch margin on each side. Don't worry about being exact with straight edges here - the fabric edges will be invisible in the final product. (Also, I really don't know what happened to this photo - I swear I wasn't using night-vision goggles to take it...)
Step 4: Start covering the box. Run a thin line of strong white glue (I used Gem-Tac) about an inch below the inside edge of one of the box sides. Fold up the corresponding part of the fabric and adhere. When dry, do the same to the opposite box side, making sure to pull the fabric taut in order to smooth out any wrinkles. When dry, run a thin line of glue down about an inch from the edge of one of the box sides not yet covered with fabric. Pull the margin of the fabric piece already attached to the inside taut and glue it down. Repeat on the three remaining margins.
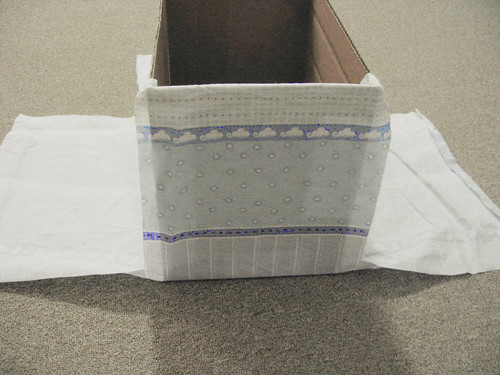
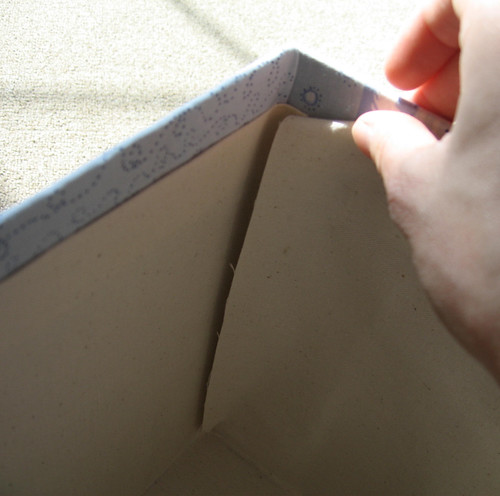
Step 5: Time to do cover the two remaining outer sides. Run a thin 3" line of glue about an inch below the inside edge of an uncovered side, in the middle. Pull fabric taut and glue down. Then, fold the margin of the fabric in on itself, creating a sharp corner like in the photo below.
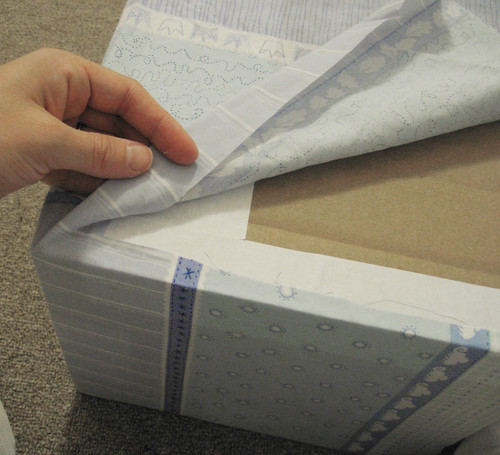
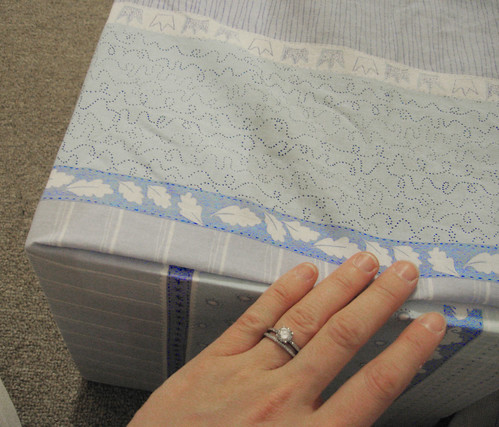
Step 6: Run a line of glue down the entire outside edge (as close as possible to the edge) where you just folded down the margin. Glue the fabric down, creating a nice seam. Wipe any excess glue that comes out along the edge - since you are using a white glue, it will dry clear. Repeat for the other side of the piece of fabric, then twice on the last box side.
Step 7: Cut fabric for the inside. This time, make sure the measurements of the plus-sign shaped piece you cut out are exactly those of the box itself. I recommend a heavier, canvas-like fabric for the inside - it will be easier to work with.
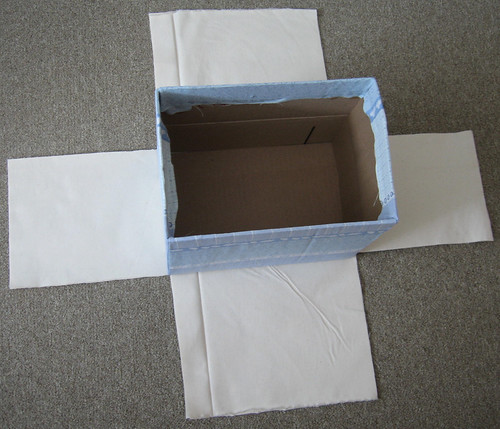
Step 8: Use binder clips to keep the unglued fabric out of your way as your work on the inside. Run a thin line of glue along an inside bottom edge and glue down the fabric. Repeat on all four sides along the bottom, smoothing out the fabric as you glue. Then run lines of glue along the side edges, folding the fabric in about 1/4" in order to create a seam.
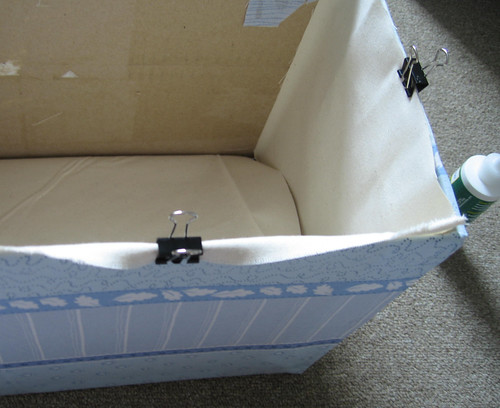
Step 9: Finally, fold the top fabric edge in about 1/2" and run lines of glue along the inside box edges about 1/2" from the top, gluing down the inside fabric. Voila! Let it dry overnight before using.

14 comments:
this is great! i love the idea a lot.
I have one question though: wouldn't it be easier to cover the inside of the box before you glue the rectangulars together?
Thank you and happy holiday!
Shirley.
very clever!
you are my new best friend. I love discovering fantastic women who write inspiring and fun blogs. It is crazy how bloody expensive those boxes are. Now I too can have cool boxes on my shelf for so little. Thanks!
I have some boxes I am using to hold DVD's in our entertainment center and need to cover them. Looking forward to using this tutorial!
Your cardboard creations are great. When my girls were small, I made them a stove with shelves and cabinet out of boxes painted pink. It was one of their favorite things. They are in their 30's now and remember it fondly.
Thanks, this was just what I was looking for!
this is a great idea to recycle useless boxes what we sometimes have at home and make something nice and useful with them, thanks for sharing this beautiful project!
I found them on a website while I was searching for something else. I like to appreciate you for posting such nice information.
For a moment while I was reading your article I struck to me that I always thought about this thing. But could not put it into words! How you do this is marvelous.
Made one to hold my files in my office. I can't believe how nicely it turned out. I used a banker's box from Target, so I didn't actually make the box--but I used your directions to cover the box w/ fun orange and red fabric. It looks awesome. So much cuter and cheaper than the ones I almost bought. Thanks for the post.
Another great post to teach us another resourceful way to make things that look amazing. Our office at home needs an overhaul and I think you've just shown me the way I'm going to do it - lots of beautiful boxes to put the clutter in.
This can't truly have success, I suppose so.
My boyfriend is one of eight children and can't remember his sibling's birthdays. I'm going to follow your instructions to make a greeting card organizer box for him. I'll also make a divider for each sibling labeled with the name and date of birthday, plus others for generics: anniversary, wedding, sympathy, etc. Then I'll fill it with greeting cards.
Excellent read overall. These tips are simple yet effective for brands wanting to improve visibility and customer engagement.
Post a Comment