
1. Wash, core, and/or pit a bunch of fruit. There is no need to peel the fruit, but you can if you want to. I used about a quart of blueberries, two Gala apples, and one nectarine - but pretty much any combination of fleshy fruit that you can imagine tasting good will do. Apples and bananas make good bases. Something to keep in mind is the higher the water content, the longer to make, and vice versa.
2. Puree everything in the blender until it is a creamy, smoothie-like consistency. To help the blending, I added about two tablespoons of water. Honestly, you could just take it and drink it at this point - I tried some and it was delish. Or maybe freeze it to make sorbet.
3. Pour onto an even baking surface, making sure that the paste is about 1/2 inch thick. I poured it onto a baking sheet covered with wax paper, and in retrospect I realize that this was not non-stick enough. Next time I'm going to try a casserole dish. The poured stuff will look like this:

3. Preheat the oven to 200 degrees, put the fruit mixture in, and leave the oven door about 1-2 inches ajar. Basically, you are drying out the fruit without cooking it (cooking leaches out nutrients). I am not sure how long it would take to dry this way, but I bet you could also leave it out on a sunny day, if you cover it with netting to keep away bugs.
4. Bake for 3 hours. Take it out, let it cool somewhat, and while it is still warm to the touch peel it away from the baking container. If you did not have a thick enough layer of paste, you will find that the leather has turned hard and crumbly. Don't worry if this happens - it's still yummy, but just not for small children. The pliable leather will now look like this:

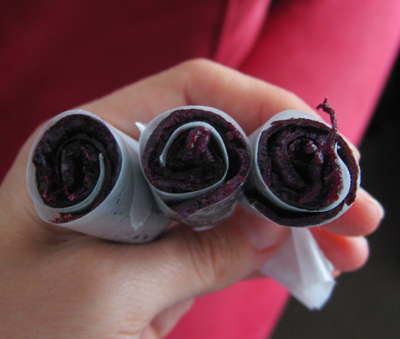
5. Cut into strips. I used a pizza cutter for this. What can't that thing do? I love it. You may find that one side of the leather is still a little messy - I just folded the leather strips in half, messy sides together. Then I rolled them up into some more wax paper. This is all that's left of the first batch. Lara couldn't get enough.
1 comment:
Yummy, yummy, yummy...! I have never seen anything like this. what a great desert - all natural and fruity. What about dark chocolate covered fruit leather? Hm... not so healthy, but also ve-e-e-ery tasty :)
Post a Comment