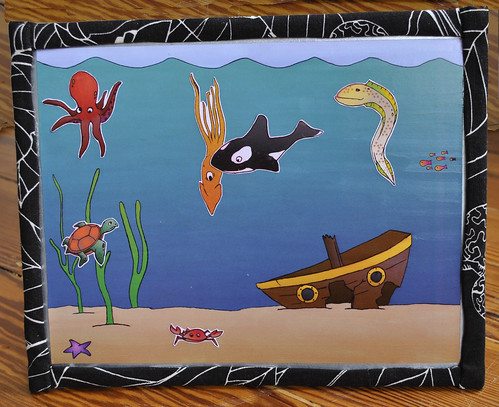
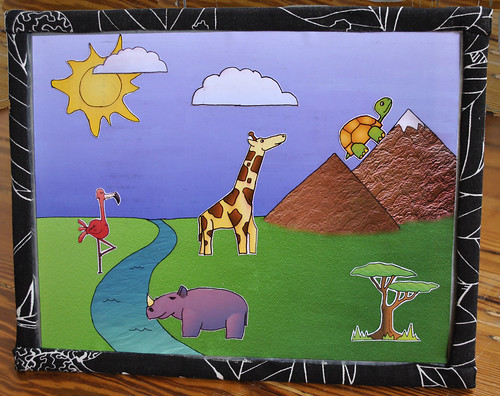
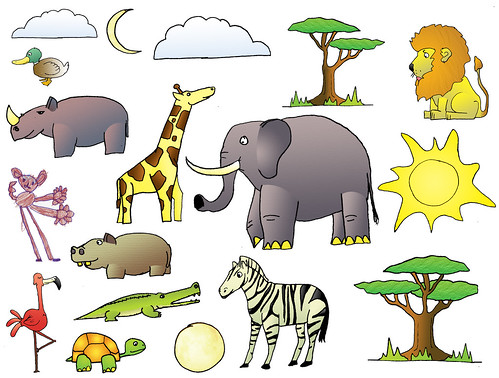
Step 1: Marry a crazily talented guy who can whip up adorable drawings of anything at all at the drop of a hat. Barring that, pick some backgrounds and figures to go on them and draw some yourself, or even download some free clip art from the interwebs.
Step 2: Digitize and colorize your drawings, in whatever order works better. Then print all of this out on some magnetic ink jet printer paper (I used Avery brand, which worked quite well). Then paint a thin layer of Mod Podge to seal the printer ink.
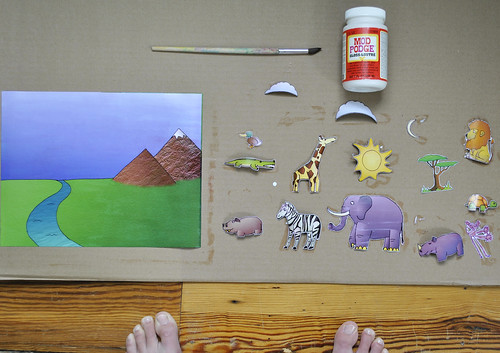
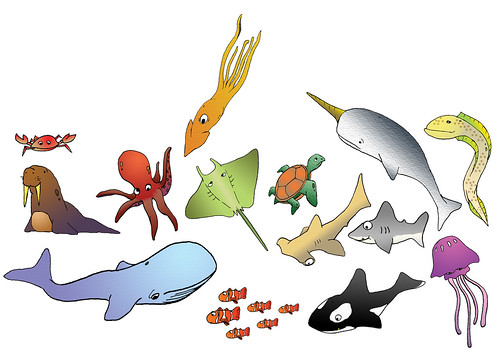
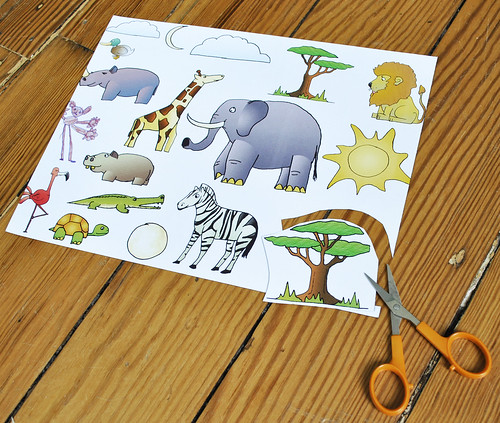
Step 3: Cut out the figurines. In my excitement over Misha's supercute animals, I actually cut them out before the Mod Podge and it was a mistake. Trust me and don't make my mistake. No matter how cute cute cute your little friends come out.
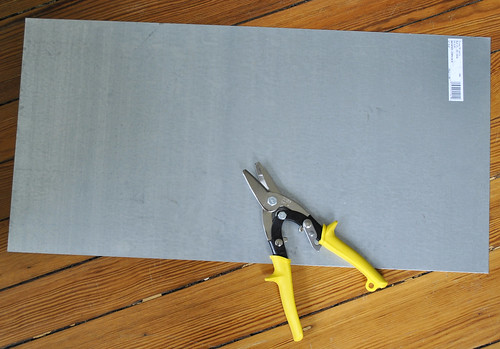
Step 4: Use some tin snips to cut a piece of sheet metal to size. I bought a 12"x26" sheet of 26 gauge steel from Lowe's and cut two 12"x9.5" pieces from it to go with my 11"x8.5" backgrounds.
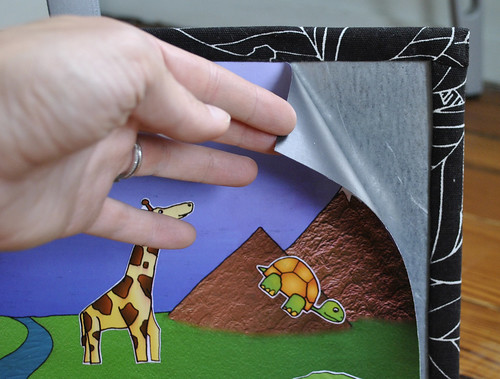
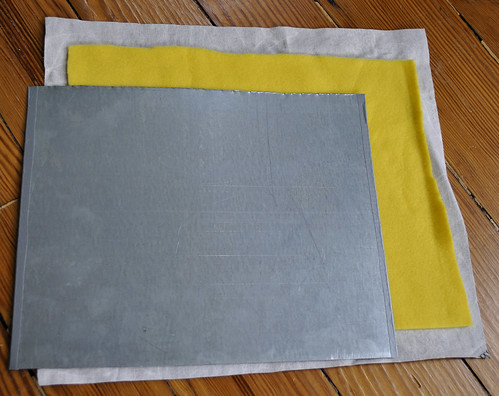
Step 5: Cut out a piece of fleece with about a 1/4" allowance on each side. Cut out whatever backing fabric you'd like to use for the lap side of the magnet board, with about an 1" allowance on each side.
Step 6: The edges of the sheet metal are sharp enough to cut through the fabric, so you have to tape them with thin strips of duct tape (or electrical tape would probably work as well).

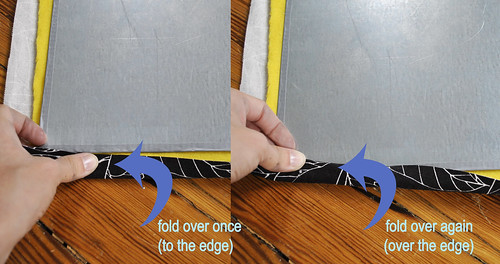
Step 7: Center the fabric and the metal on top of each other. Fold the outer fabric over to the edge of the metal and then over again onto the metal.
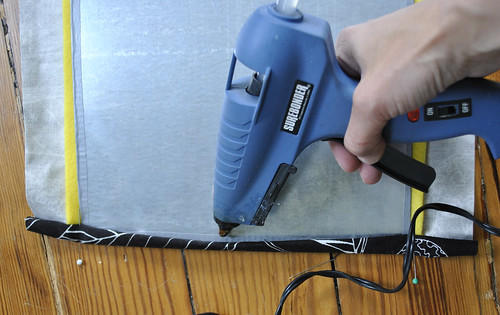
Step 8: Use hot glue (or any glue that will bond to metal) to glue the fabric down.
Step 9: Fold up and sew down the corner.
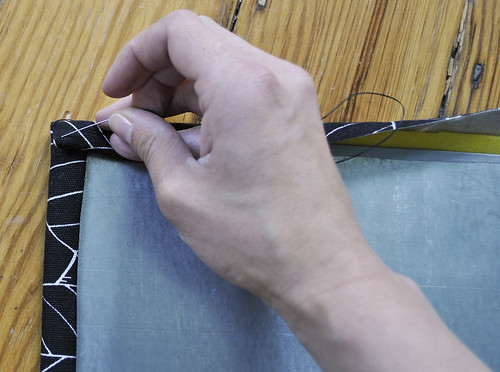
Step 10: Keep going around, gluing down each remaining side and sewing down the corners. And now you're done! Throw on your magnets and let the kids have at it!